


In the fast-paced world of sports betting in Nigeria, convenience is key. With NG leading the charge, betting has never been easier or more accessible […]
Unraveling the Secrets of Successful Betting in Nigeria
Betting on sports has become a popular pastime in Nigeria, with millions of enthusiasts across the country trying their luck and skill in the hopes […]
Nigerian Betting Revolution: How NG is Changing the Game
The landscape of sports betting in Nigeria is undergoing a revolution, propelled by the emergence of innovative platforms like Megapari, 1xbet, Helabet, Betwinner, 22bet, Melbet, […]
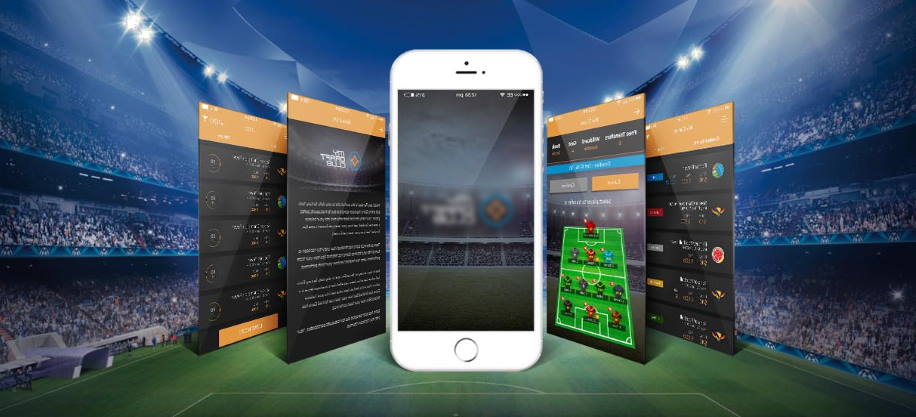
Online betting apps
Online betting in Nigeria is currently gaining popularity. With the advancement of technology and access to the internet, people prefer to bet on sports and […]
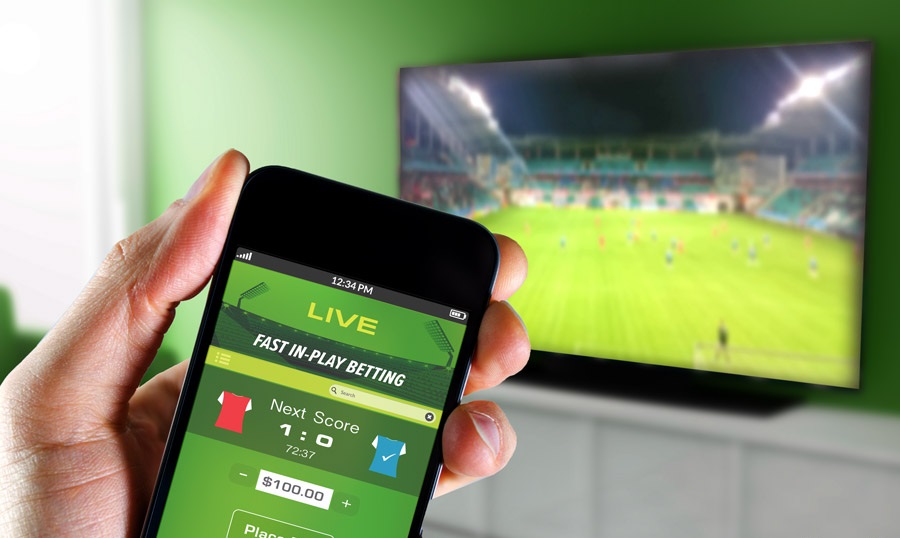
Old bet9ja mobile app download
Mobile apps are becoming more and more popular in sports betting and gambling these days. Bet9ja, one of the leading bookmakers in Nigeria, offers its […]
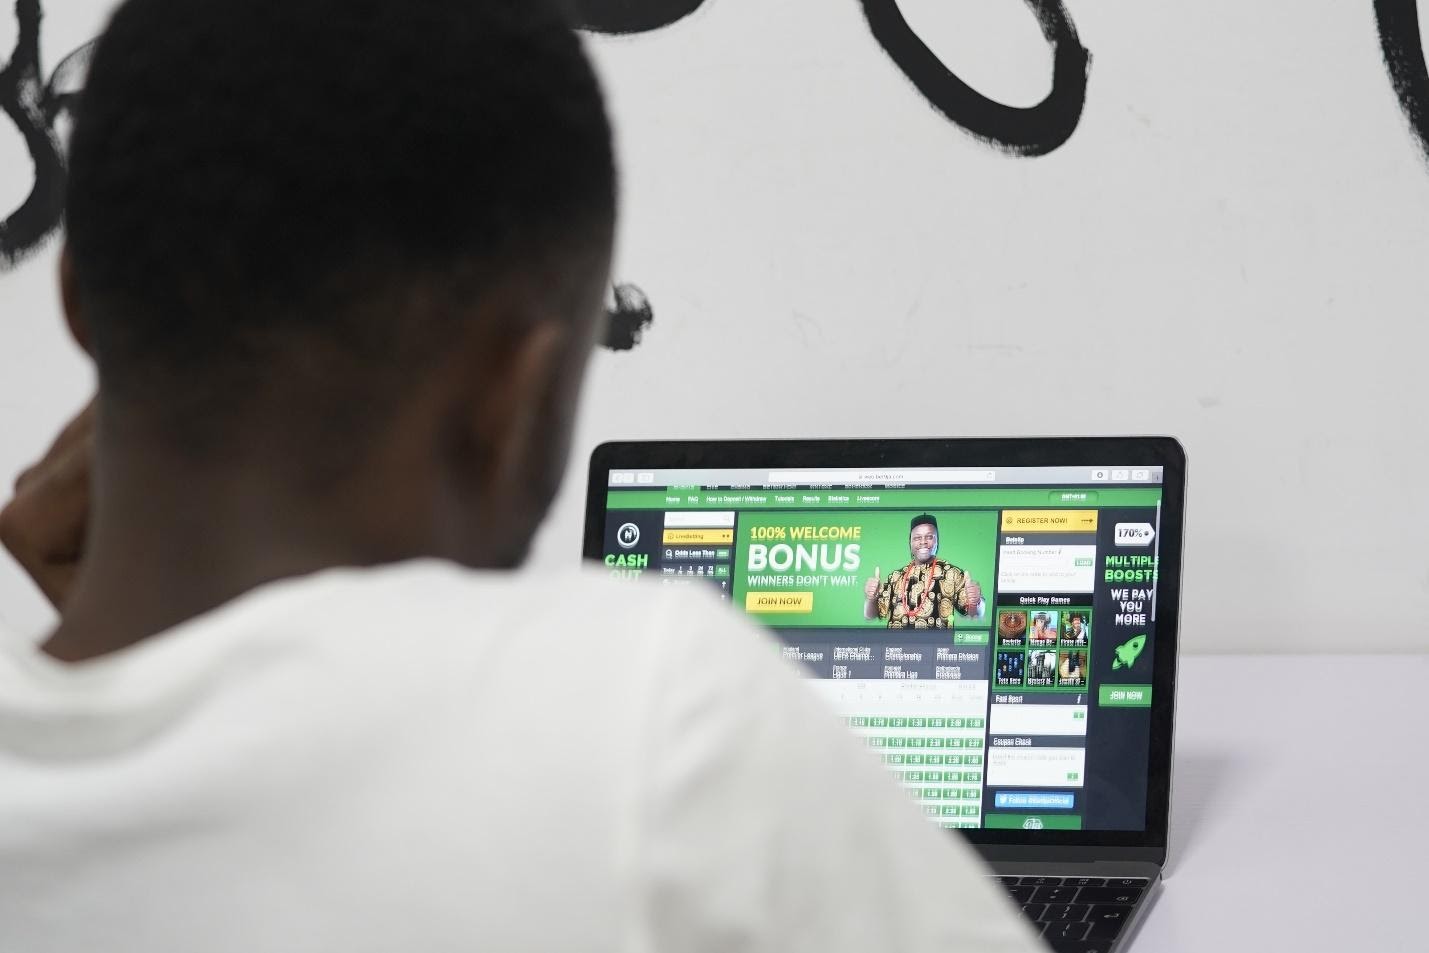
New betting sites in Nigeria
If you are a gambling and betting enthusiast, you have probably already heard about the growing popularity of new betting sites in Nigeria. This industry […]
Names of bet in Nigeria
If you are interested in gambling and betting, then you have probably heard of betting titles in Nigeria. This country, with its booming technology and […]
Names of bet in nigeria
Nowadays, betting is becoming an increasingly popular form of entertainment and a way of earning money in Nigeria. With the advancement of technology and the […]